Tactile Renders – Tips for Texture Mapping In Architectural Renderings
As all designers know, there are usually two main steps to the creation of an effective architectural rendering. Shaping the world so that it reflects what you have in mind will take up most of your time, but once that’s completed you’ll also need to make the environment look realistic and appealing to a potential client.
That is where texture mapping comes into play. Every surface, every background, and every detail of your scenery will need a coat of paint if it is to stand out. In this article, we’ll share a few tips to enhance your renderings so that they look exactly as if they were a real photo!
One Foot At A Time!
 Just like you wouldn’t plonk down a roof before the rest of the building is ready to support it, you can’t expect to cover an entire rendering in a single pass. A solid approach is needed if the entire process is to go smoothly.
This is why we devised a three-step solution that you should stick to whenever you you’re working with textures. But enough talking; let’s get started!
#1 Carefully Map All Of Your Surfaces
The average architectural rendering contains hundreds of different objects. Roads, walls, windows, and tiles blend together to create the picture in front of you. As you can’t afford to miss some of them, you’ll want a way to quickly visualize each main group before you start applying textures.
Go back to your base render and create an analytical map of the whole environment. Color-code each area according to the characteristics and features they have in common. It will be a lot easier to move forward now, as you already know what to look for!
#2 Pick The Right Materials
A pathway is usually a flat strip of land covered in dirt, stone or asphalt. Similarly, walls should look be made out of concrete, bricks, or another commonly-used building material. These standards are accepted across the globe and let anyone easily understand what they’re looking at; making your picture clearer.
As you move from one zone of your map to the other, select the right kind of material for what you’re working with. Picking textures that are adequately detailed will allow you to reuse them, even on surfaces that might require some stretching to be fully covered!
#3 Understand The Important of Lighting
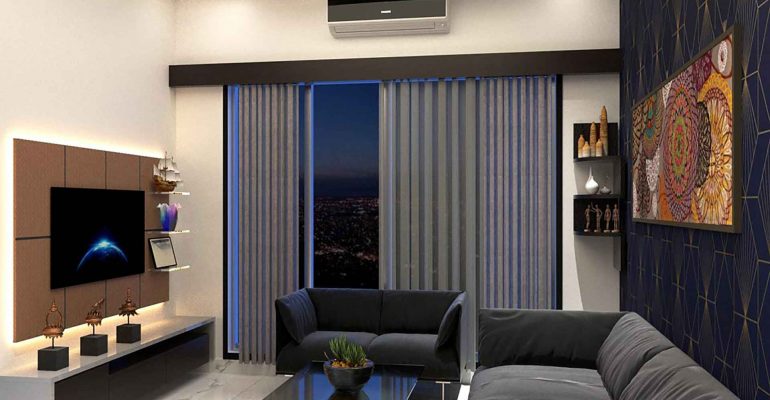
Although not immediately obvious, lights are a fundamental part of any successful texture mapping effort. The right amount of brightness can help you highlight specific parts of your pictures and shadows could be used to obscure areas that are otherwise challenging to deal with. At the same time, lighting adds to the realism of the whole rendering!
Once your textures are all in place and before the result is shown to your clients, take a few moments to edit your work. Adjusting the picture’s brightness, its contrast and temperature will make for extremely captivating architectural renderings!