Lighting your 3D Exteriors – 3 tricks to Bring Homes to Life
As the weather gets cooler and more pleasant, nothing beats spending the day outside. Enjoying a cold drink and grilling on the porch make for an exciting way to pass the time. This is why many prospective homeowners specifically ask for residences that have a backyard. Before they’ll buy the house of their dreams, though, these people need to fall in love with it first!
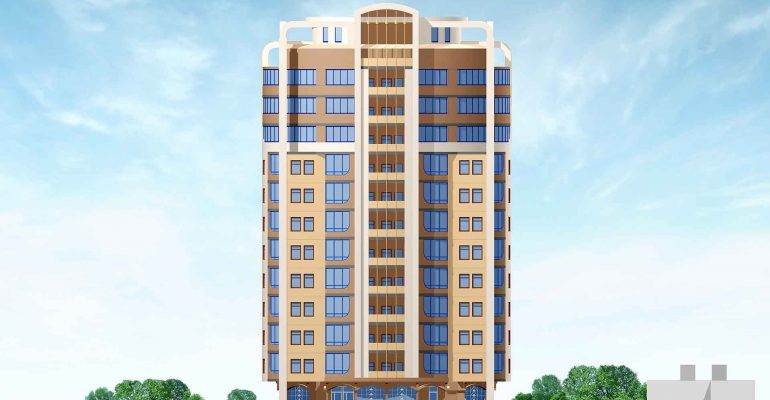
On paper or on the screen, even the most beautiful designs lose a bit of their magic. That’s where mastering the art of lighting can make a huge difference. In the next few lines, we’ll look at three ways to get the best out of your 3D exterior renderings!
Simple and Free From Clutter
Let’s start with a general rule: whether it’s intended to promote the building or as part of a house-viewing, your 3D rendering should be as simple as you can make it. Too much on the screen might risk confusing the client, as they try to find their way through the clutter instead of focusing on the details.
On top of this, there are a few other things you can do to achieve that wow factor you’re after. These stylistic choices will ensure that your 3D exteriors look nothing short of irresistible!
#1: Deploy Multiple Light Sources
Even on a cloudy day, real light doesn’t all originate from a single location. Adding multiple light sources to your 3D rendering lets you better emulate a natural environment. Your scene will no longer look artificial and buyers might be more easily taken in by it.
Just remember that builders will likely want to turn those virtual sources into physical ones at some point. The positions you go with should be chosen so that a lamp or post can eventually take their place!
#2: Be Mindful of Your Textures
As it travels, natural light propagates equally in all directions. Photons bounce off of whatever obstacle they come across, scattering light throughout the scenery. This is why designers and architects should pay particular attention to the textures they use when preparing a 3D rendering.
If they’re added in correctly, reflective materials – like glass panels or aluminum trimmings – as well as more opaque ones such as wood or paint, give you a large degree of control over light. In short, you’ll have the chance to brighten or darken specific areas of the rendering as you see fit!
#3: Exploit The Full Power of Colors
No matter how much light you shine onto it, a dark object will always struggle a bit to blend in. You should always do your best to ensure that furniture, details, and fixtures fit with the rest of your 3D rendering.
Try out different combinations of colors and only settle on the one that seems to be the most appropriate. Additionally, specific shades can also influence the general mood of a scene. Bright and colorful furniture, for instance, make for a cozier environment that most people would feel comfortable living in!